Skin health education
Taking the Best Pictures for DermaVision: A Guide
Tips and techniques for capturing high-quality skin mole images to get the most accurate results from DermaVision.
Prepared by NextPath Labs Medical Team
The accuracy of DermaVision's analysis relies heavily on the quality of the image you provide. Think of the image as the eyes for the machine learning model. A clear, well-focused picture with good lighting helps the model see the mole's characteristics more effectively. This guide will walk you through how to capture the best possible image for the most accurate results from DermaVision.
Choose Your Camera
You don't need specialized equipment! You can use:
- Your smartphone camera
- A digital camera
- Even a tablet camera
The key is to ensure the camera can take clear, focused pictures up close.
Lighting is Key
Good lighting is crucial. Aim for bright, even lighting that illuminates the mole without creating harsh shadows or glare.
- Natural Light: Daylight is often the best source. Find a spot near a window.
- Artificial Light: If natural light isn't sufficient, use a lamp. Avoid overhead lights that cast shadows.
- Consider Using Flash: In some cases, using your camera's flash can help provide direct, even light on the mole, reducing shadows and highlighting details. Experiment to see what works best for your situation.
Frame the Shot
How you position the mole in the picture makes a big difference:
- Center the Mole: Place the mole as close to the center of the frame as possible.
- Get Close: Move your camera as close as you can while keeping the mole in sharp focus. The mole should fill a significant portion of the image.
- Use Macro (If Available): If your camera has a macro setting, often indicated by a flower icon, use it. Macro mode is designed for extreme close-ups and can capture fine details of the mole's texture and edges.
Focus on the Mole
Ensure the mole is in sharp focus. A blurry image makes it difficult for the model to analyze the details. Tap on the screen, on smartphones, or use your camera's focus function to make sure the mole is crisp and clear.
What to Include and Exclude
The image should focus only on the mole and the surrounding skin.
- Include: The mole, the skin immediately around it, and potentially hair if it's in the area and cannot be easily moved without disturbing the mole.
- Exclude: Avoid including clothing, jewelry, other objects, or large areas of unrelated skin. These can distract the model and potentially lead to inaccurate results.
Examples of Good Images
Here are some examples of what constitutes a good image for DermaVision:
Example 1: Clear, centered, well-lit mole
A clear image keeps the mole centered and visible without strong glare or shadow.
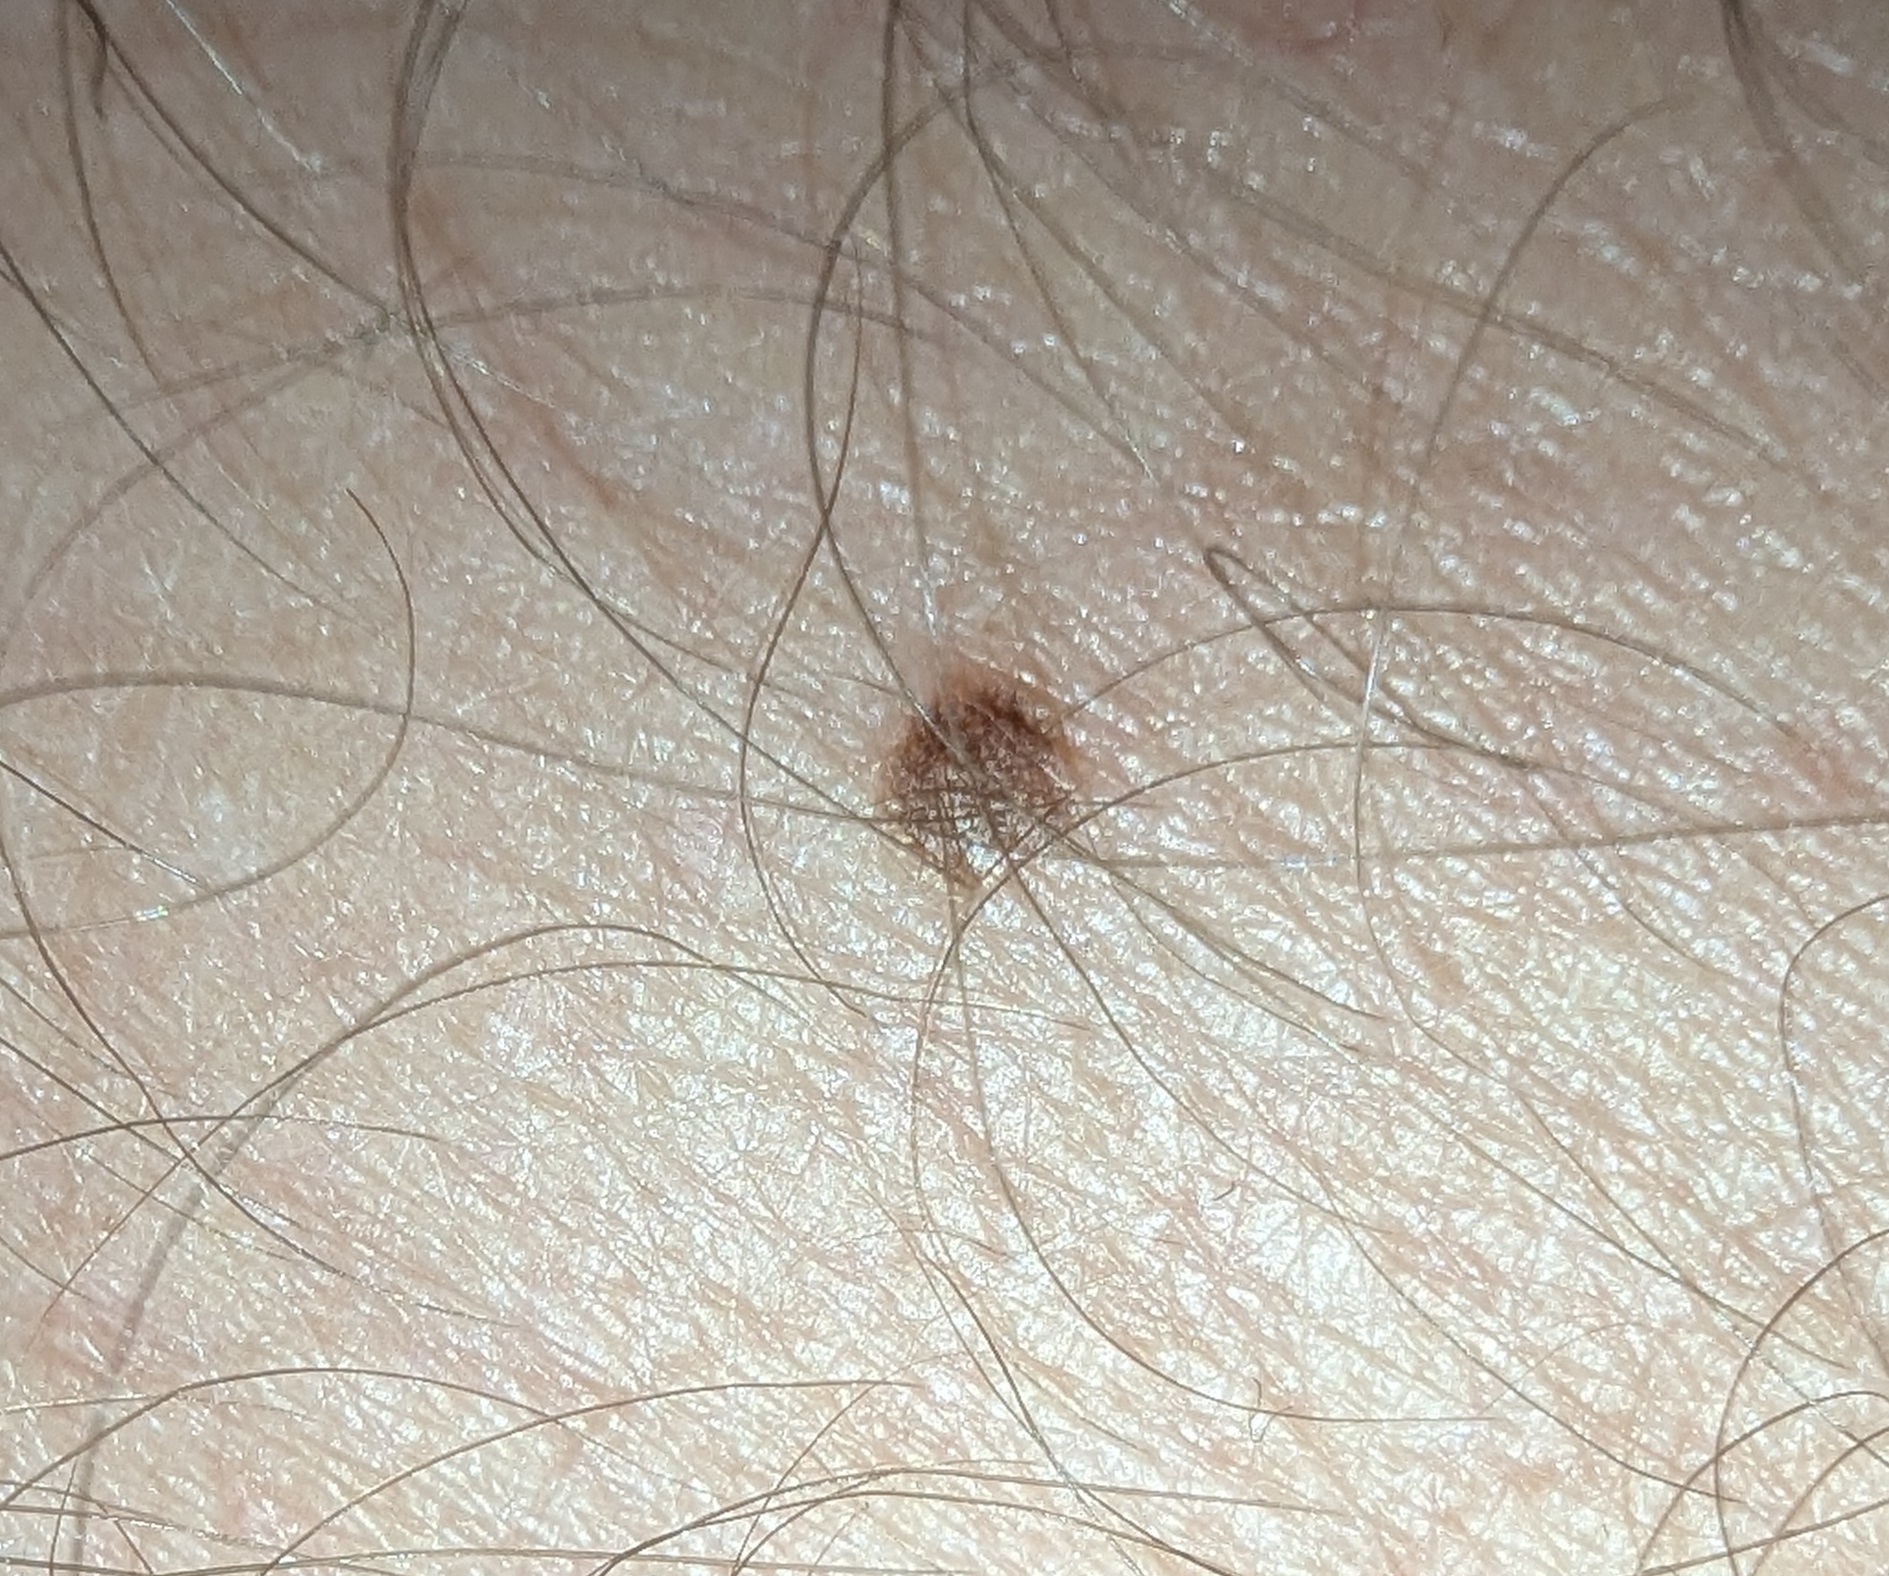
Example 2: Close-up with good focus
A close-up image should preserve sharp detail around the lesion and surrounding skin.
.jpg)
Example 3: Well-framed with balanced lighting
Balanced lighting helps avoid washed-out or overly dark areas.
.jpg)
Example 4: Perfect detail and contrast
Good contrast can make borders and color variation easier to evaluate.
.jpg)
By following these simple steps, you can help ensure that DermaVision has the best possible image to analyze, leading to more reliable initial assessments. Remember, image quality is a key factor in getting the most out of the app.
DermaVision is not a medical device. AI screening is not a diagnosis and cannot replace consultation with a qualified healthcare professional.